Omegle is the new ongoing trend these days. So, what exactly is Omegle? It is a new way of online chatting and connecting with new people. The online chatting website enables people to select their interests and then get paired randomly with the people who selected a few the identical interests.
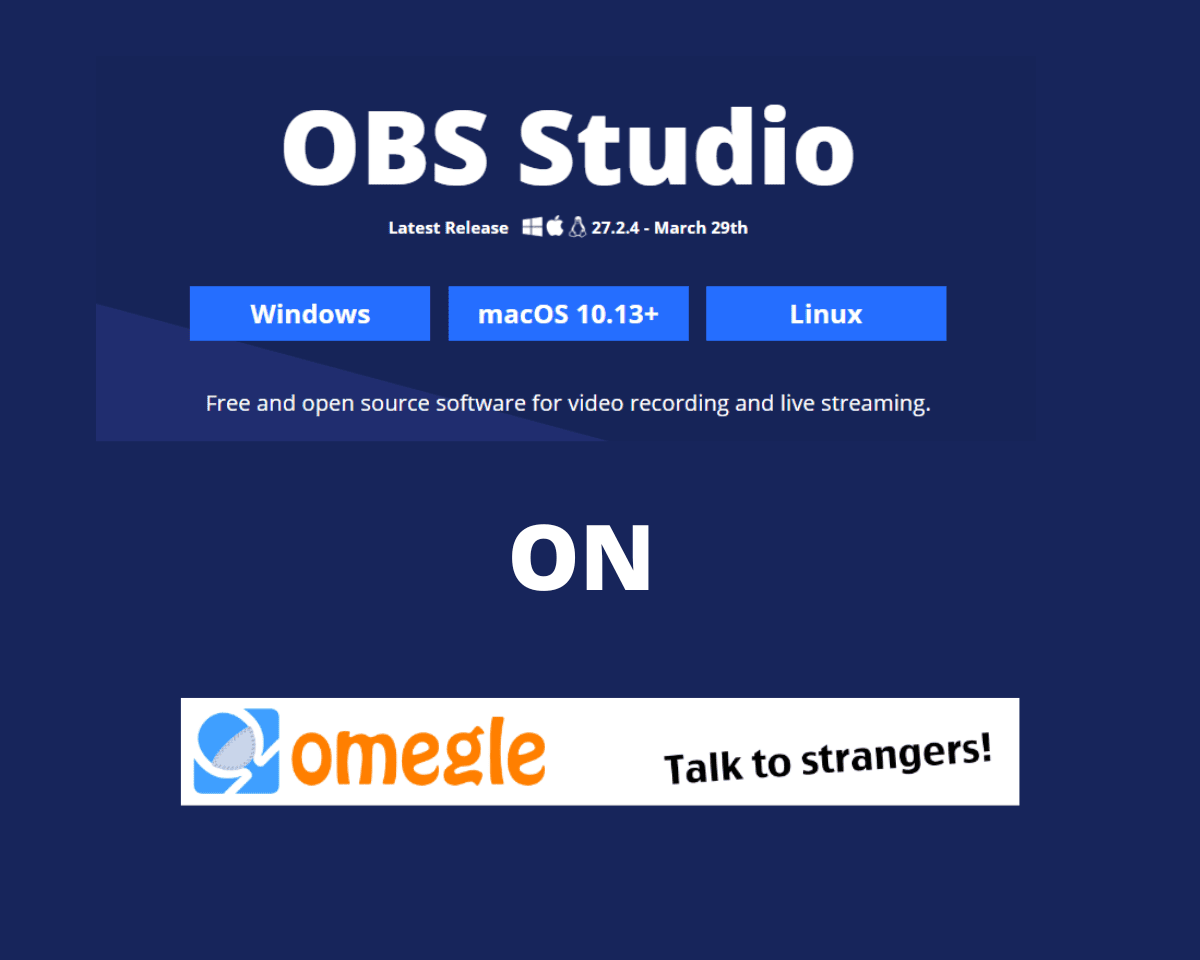
Omegle uses webcam detection and one can send their videos and stream on such applications or platforms using OBS virtual camera. So, instead of a camera device, one can easily access the output from obs like a webcam. Through this article, we will help you with all the information about using a virtual camera on Omegle.
Steps to Use OBS virtual camera on Omegle
In order to use obs virtual camera on Omegle, you must go through the following instructions:
Step 1: First of all, download obs studio 27.1.3 on your device. You can install it using Windows, macOS, or Linux. Now, install obs and the Virtual Camera plugins by allowing the administrator to run and click ok and follow all the prompts.
Step 2: After this, Open the obs studio wherein you will be able to see a preview window on your screen. On the bottom left corner, there will be a ‘Scene‘ tab where you can create scenes.
Step 3: Now, in order to create a scene, please click on the ‘+’ button and then name it according to your choice. As an example, let us call it ‘game’ which will be a game scene and the name will be visible to you on the scene tab.
Step 4: You can now add sources to your scene by clicking on the ‘+’ button at the bottom. Sources like: Display capture, image, window capture, etc. Adding these will display it on your stream. So select any source that you would like to stream on your screen and name it as per your choice.
Step 5: Now, follow the instructions as per the prompts and then adjust the display on your screen according to your need. Now, the video or the image will come on your obs screen. After this, you will be able to see an option as ‘controls‘ at the bottom right corner of the video and the page. You must now click on the ‘Start Virtual Camera‘ option.
Step 7: After this visit, to the Omegle website, click on the address bar, and select OBS Virtual Camera by changing it from an integrated webcam to OBS virtual camera. You must do this by clicking on the allow button. This will enable the obs virtual camera on Omegle.
Conclusion
Instead of using a camera device, you can easily use the obs virtual camera on Omegle and stream your video or images accordingly. The article provided you with all the essential steps that you must not miss before using the obs virtual camera.
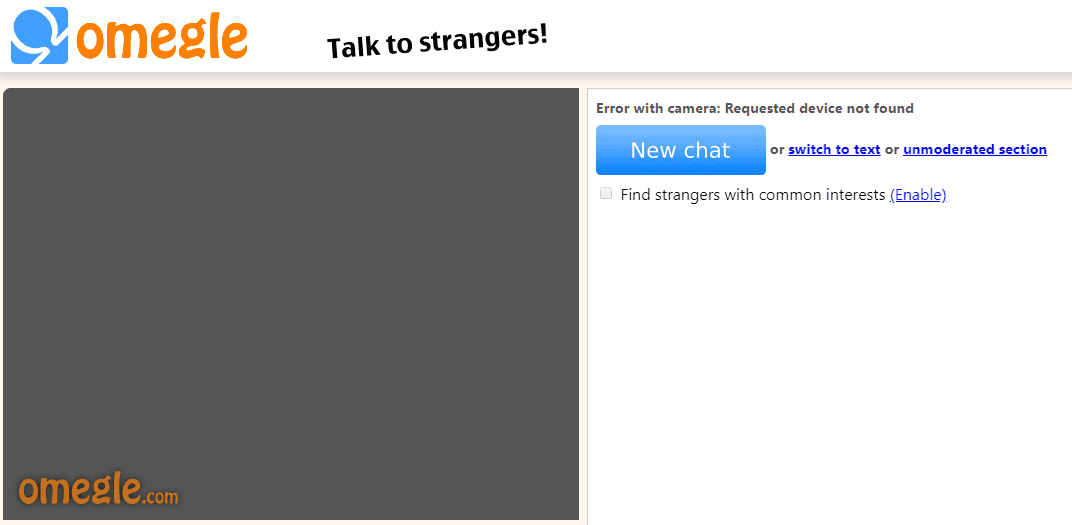 How To Fix Error With Camera Requested Device Not Found On Omegle
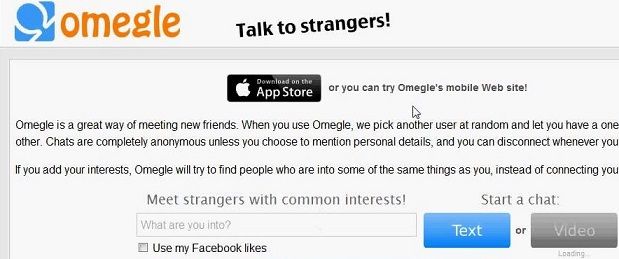 How to Fix Omegle Video Camera not Working on Chrome, Firefox & Mac
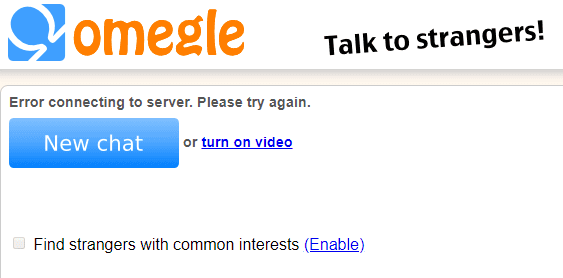 How to Fix Omegle Error Connecting to Server Using VPN
 How To Send Feedback Email To Omegle Staff
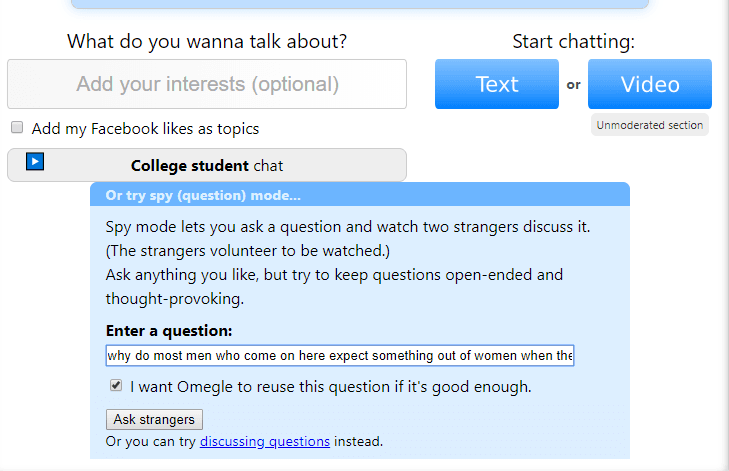 Omegle Spy Mode: What You Need To Know?
Be the first to comment